It has been a while since I last posted. Between coaching, playing cricket and work, I haven’t found much free time this summer to blog. But now that sunny summer days are behind us, I thought I would pick up the pen (well, keyboard in this case) and share some of my ideas.
This year has been a busy year for Qlik. Qlik Sense SaaS is adding new features quicker than I can keep up with. It’s great news for all the fellow Qlikies out there. It’s no surprise that past 12 months I have been busy with SaaS and hybrid deployments to help our clients with their SaaS journey.
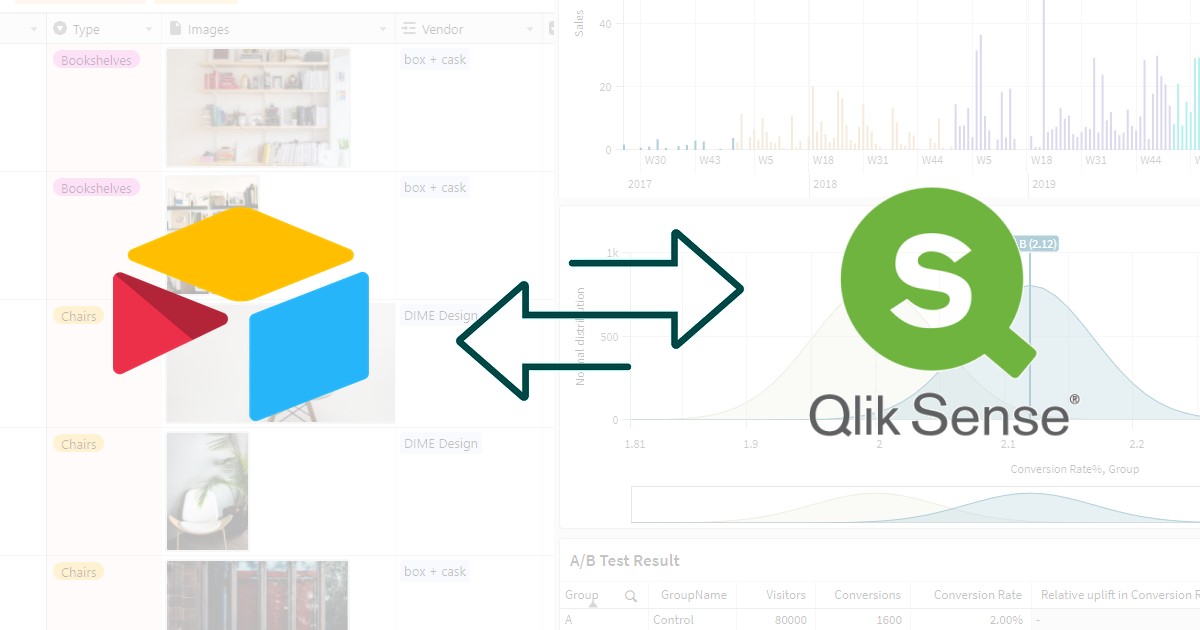
For all the new features in Qlik Sense SaaS, there are times when businesses demand more of the platform. And today, I would like to look at one of those use cases, which involves integration with Airtable using a simple Qlik Sense extension from yours truly!
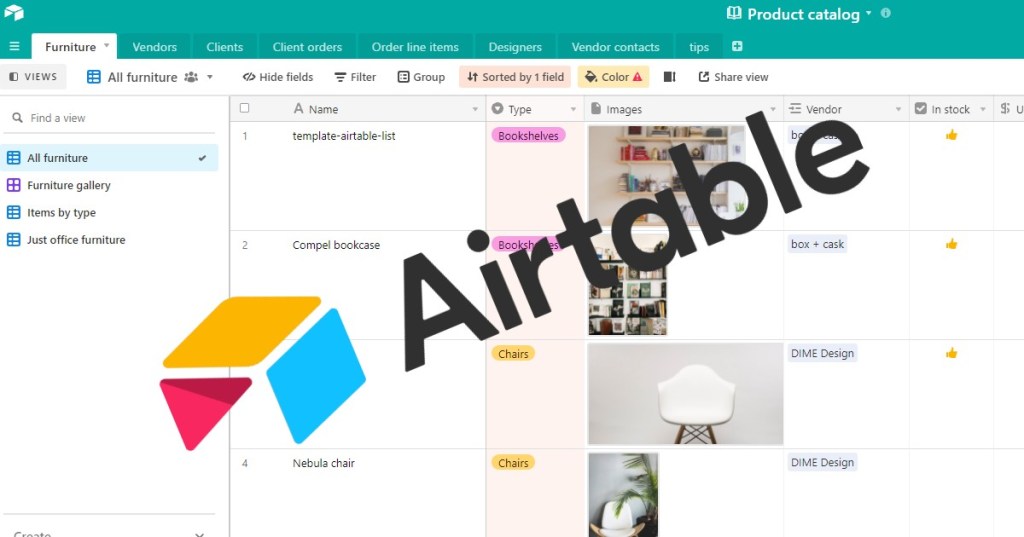
What is Airtable
For those who have not used or heard of Airtable, here is what Wikipedia says –
Airtable is a spreadsheet-database hybrid, with the features of a database but applied to a spreadsheet. The fields in an Airtable table are similar to cells in a spreadsheet, but have types such as ‘checkbox’, ‘phone number’, and ‘drop-down list’, and can reference file attachments like images so they’re called “rich field types”. Users can create a database, set up column types, add records, link tables to one another, collaborate, sort records and publish views to external websites.
– Wikipedia
But to me, it’s much more than that. It’s a collaborative workflow platform, with the ability to build low/no code solutions with the ease to support all types of business cases. One of the great features of Airtable is their “form” view on top of the tables which essentially allows users to submit data to the tables we create. For this blog, we will focus on this form view of Airtable.
Now the usual “Why?”..

There are times when businesses need to capture information from users, e.g. feedback on a particular project or it could be some additional data that is not in their digital platform. Usually we see users filling in spreadsheets to manage those type of data entry tasks.
With Airtable, we can setup a table (or a few tables, we can even create linked tables) and create many views on top of the table with only a few clicks. We can create card view, kanban board etc and embed these views to our other web applications (in our case, Qlik Sense application). But why stop there? We can even create “Forms” with few clicks that allows users to input their own data and populate the underlying table. This makes the data capture more simpler, intuitive, centralised and governed.
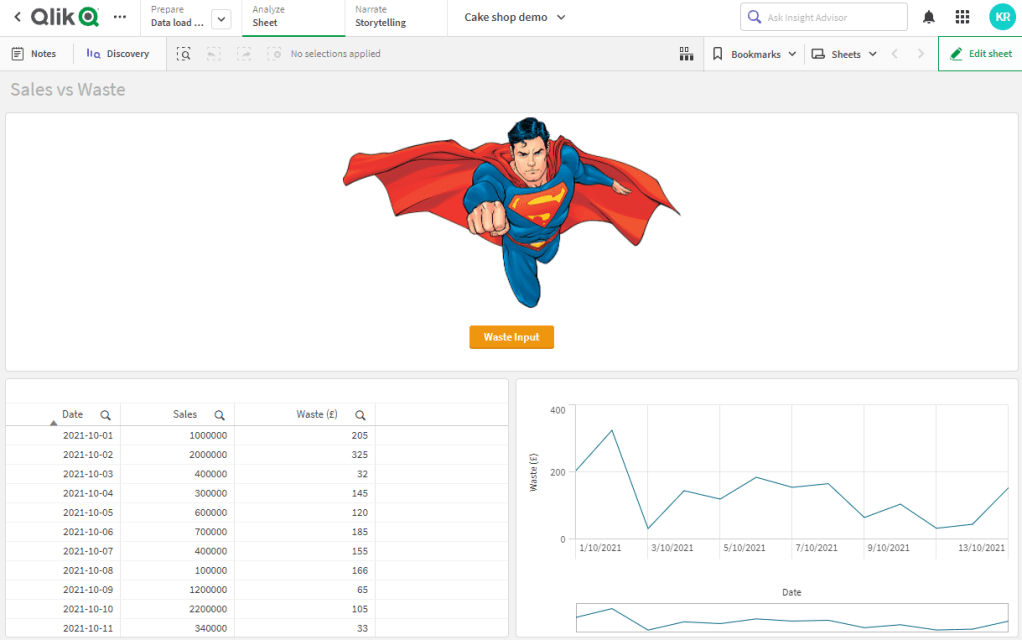
For this blog, we will focus on the Airtable forms. We have a Qlik Sense application that gives us sales and wastage information for a cake shop. The shop’s digital system capture sales but the wastage figures are kept in various spreadsheets and prone to input errors (As our experience with spreadsheets tell us!). We would also like the shop managers to add comments to their existing data, e.g. why sales were down at particular date. (And no, we are not building any writeback extensions in a traditional sense!)
Now time for “How?”
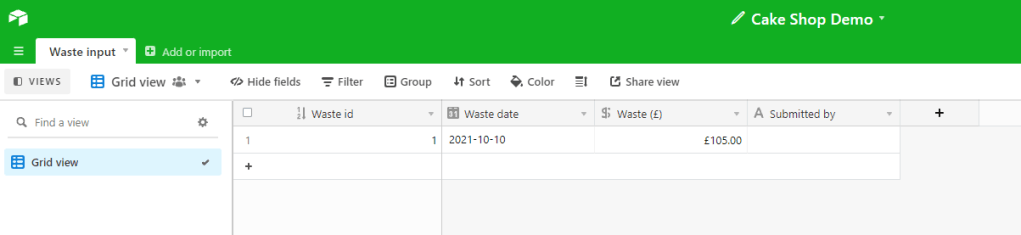
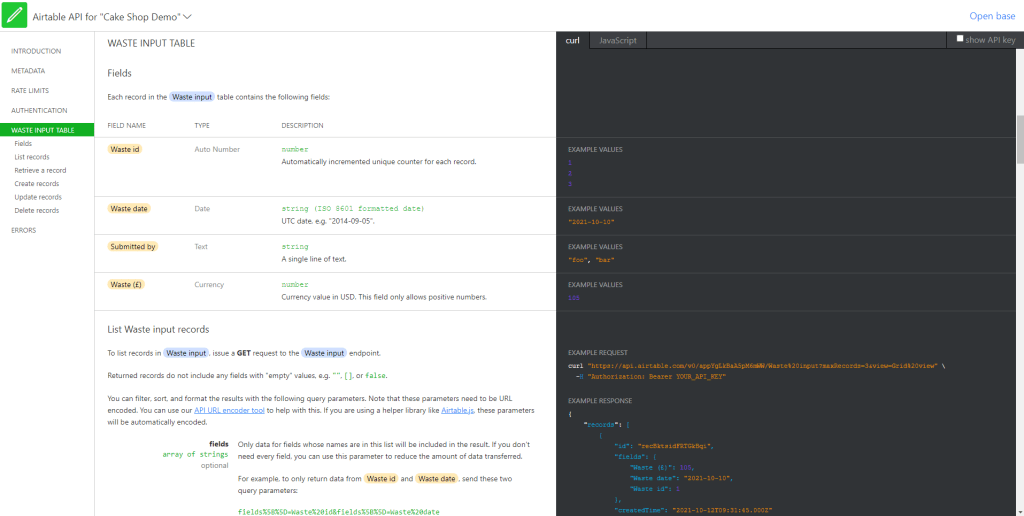
For our shop scenario, first step is to determine what data we like to capture. We would like to capture waste figures by date. We will create our first Airtable table with two main fields – Waste date and Waste (£). We will also add few automated fields to the table such as incremental key field (Waste id) and Created date and a Submitted by field that will capture the Qlik Sense user Id. End result should look something like the picture below.
Note: I am not going to do a step by step table creation guide here. Please visit Airtable guides for this. It is a very intuitive platform to use.
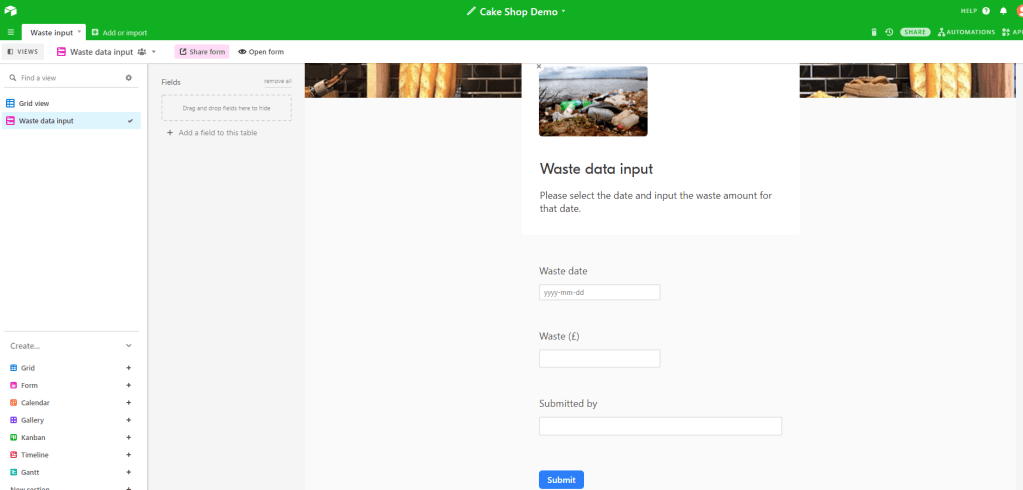
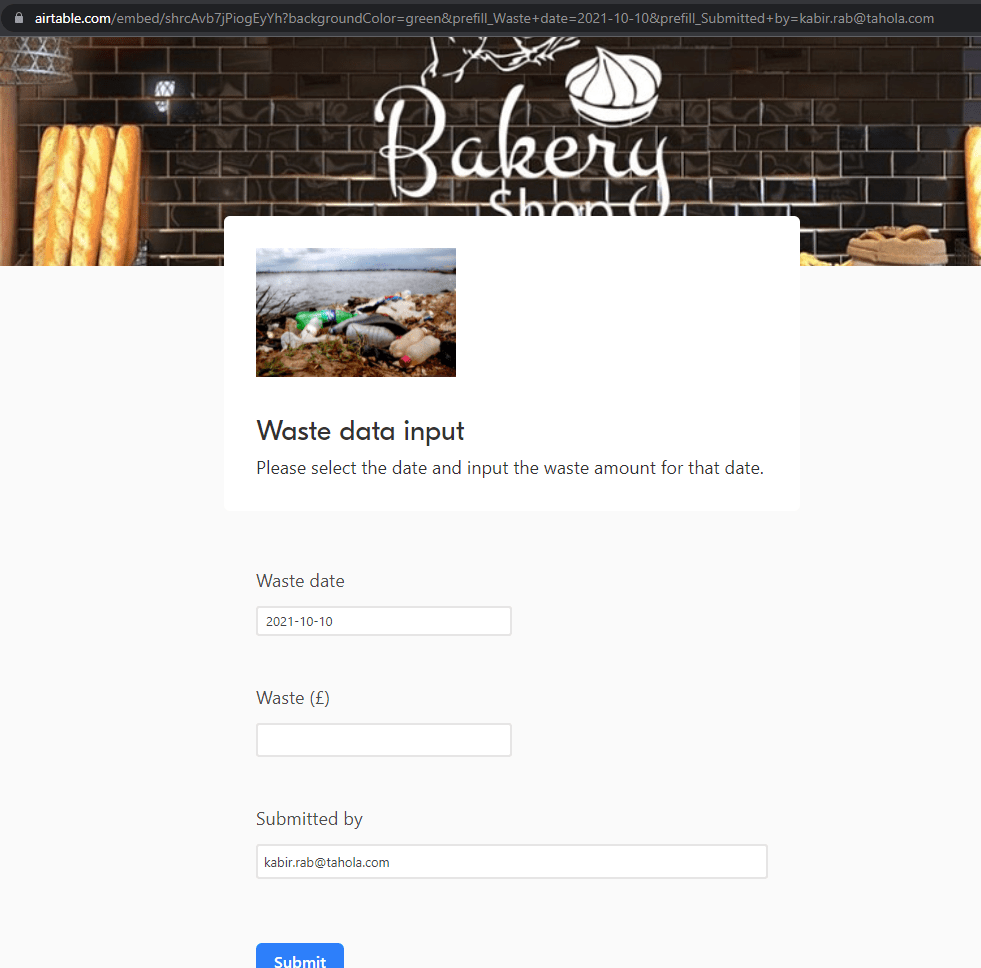
Now that we have the input table, we will go ahead and create a form. The platform will generate the form excluding any auto generated fields, which is great as we do not want to show them in our users. Our final form looks like the picture below.
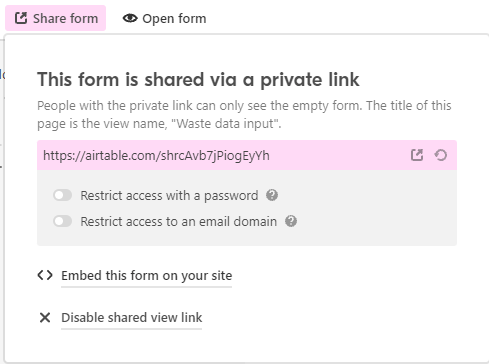
We are now almost ready to embed this to our Qlik Sense Application. We will have to share this form to generate an unique link and also generate the iframe script for embedding this to Qlik Sense. Since we added a field called “Submitted by” in our form and input table, we do not want to leave this to chance. We would like to pre fill this field when users land on it. Here is the link on how we can generate pre filled form in Airtable.
Now we are ready to embed this form to our Qlik Sense Application. I will use an extension (QS-Modal) I’ve built for embedding contents in Qlik Sense. Please feel free to use any other extension of your choice. This particular extension has many options and one of the benefits of this is that it uses buttons and modal to display the form, taking very little space on the screen, leaving space for other charts/data visualisations. You can also add multiple forms (button for each form), master visualisations and texts to each modal/button.
Note: On Airtable form, click on share button to get different sharing option. You will need the script for the iFrame not the direct link. Direct link url will not work for embedding.
When embedding this, we will manipulate the iframe src/url slightly to add the pre filled information. We would like to pre fill the “Waste date” with the current date and “Submitted by” field with Qlik Sense user id. We can use the following expression to create the URL string for this.
='https://airtable.com/embed/[UNIQUE_STRING_FOR_YOUR_FORM]?prefill_Waste+date='&DATE(NOW(),'YYYY-MM-DD')&'&prefill_Submitted+by='&MID(OSUSER(),INDEX(OSUSER(),'=',-1)+1,LEN(OSUSER())-INDEX(OSUSER(),'=',-1)+1)
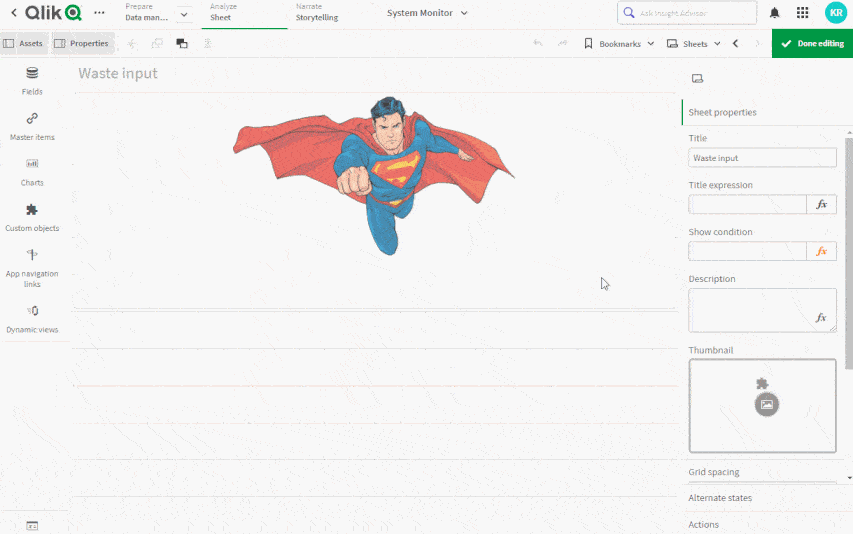
When we are done, it should look something like bellow. This completes the first part of the integration.
It’s no good for us just to capture the data if you do not bring that to our Qlik Sense application. Airtable provides a REST API for all the tables. This is ideal for us to load that user submitted data into the Qlik Sense application. Follow this for more information on the Airtable REST API.
For our shop Qlik Sense application, we will use the Qlik REST connector to load the data and join it with the rest of the model by the “Waste date” as a key. This should result in something like this below.
That is it. We have now given our shop users a means to input new data all with-in Qlik Sense without any write back extensions.
And time for “What’s next…”

Integration with Airtable such as this opens up the possibilities to build some complex data solutions for our users. e.g. user can select a single product and add note to it. We can pass a product Id to Airtable with pre filled form using “ONLY([PRODUCT_ID])” and load that information back into our Qlik Sense application. Use of “Dynamic views” is another way to bring the data in existing application without a full reload as users input more data throughout the day. There is also the Qlik Application Automation (QAA) as well as the automation flow within Airtable which opens up an entirely different set of use cases, but that is a topic for another day.
At Tahola, we are already exploring this type of integration for our TaholaCloud product to gather feedback and provide some simple data entry functionalities for our clients. I can see many more use cases for this type of solutions and that is without costly services and complex set up.
This is all the time I have today, I hope this plants some seeds for new ideas to grow. I would love to hear other ideas that you may have using this type of integration. Why not share them in the comments?
